1. Put it in Manual Mode
You might miss opportunities while you’re learning to use the manual controls, I did. The moments you don’t miss while fiddling with your controls might turn out to be bad photos, mine were. But I knew if I wanted to create great images I would have to learn to shoot in manual mode, so I flipped the switch to M and jumped in the deep end with no floaties, this is what I would suggest to you as well. And it’s true, I missed a lot of photo opportunities fiddling with the controls and I messed up a lot of shots because I didn’t know how to use them, but experience is sometimes the best teacher and I think in this scenario that philosophy holds true. There are 3 controls to worry about. Shutter speed, aperture, and ISO. I want to keep these tips as short and easy as possible so here is a quick overview of the main things to consider for each.
– Shutter Speed: Shutter speeds are based on seconds. Faster shutter speeds can freeze fast moving subjects. Examples of fast shutter speeds would be 1/1000, 1/2000, 1/8000 of a second and are commonly used to photograph sports and wildlife. Slow shutter speeds are often used in conjunction with a tripod in low-light scenarios or can be used to blur action in a scene to convey motion. Examples of slow shutter speeds would be 1/10 of a second, 1/2 of a second, 10 seconds, or even 30 seconds.
– Aperture: A small aperture value, such as f/2.8 let’s more light into the camera which allows you to shoot at higher shutter speeds, blur backgrounds due to a smaller depth of field, and are good for low-light conditions. Larger aperture values such as f/22 let less light into the camera allowing you to shoot at slower shutter speeds and have a greater depth of field which can be handy for landscape photography if you want more of your shot in focus.
– ISO: Is basically how you control the sensitivity of your camera’s sensor. As with all the settings I’ve mentioned so far, there is a balance to them, a give and take if you will. Lower ISO values such as 50, 100, or 200 are ideal because they result in the highest quality image, however these low ISO values aren’t always the best in low-light conditions (unless you use a tripod). By boosting the ISO to say 800, 2000, or higher you can achieve better exposures in low-light, but there is a give and take, shooting at higher ISO can result in grainy photos, referred to as noise, which is why most people keep their ISO as low as possible. I would worry about ISO last and focus on shutter speed and aperture first.
I’d recommend setting your ISO to Auto and put a cap on the maximum value until you have mastered shutter speed and aperture. This is something I still occasionally do in certain situations and gives you one less thing to worry about.
2. Use a Tripod
Tripods are essential for shooting at slow shutter speeds. Unless you are robot, you are incapable of holding the camera still enough for several seconds to get a decently sharp or in-focus photo. Placing your camera on a tripod ensures it will stay still throughout the entire duration of the exposure, capturing all of the details to their maximum potential. Using a ball head will give you more flexibility while shooting on a tripod. To reduce even more camera shake, use a shutter release cable in tandem with your tripod.
3. Copy Other Photographers
This was incredibly important in my personal development as a photographer, probably the most important actually. For years I saw amazing photo after photo and wondered how they managed to create such awesome pictures when mine looked far less spectacular. Whenever I saw a photo in the style that I aspired to create myself, I would then go out and try to recreate it with what I had available to me. Whether it was some sort of sunset photo or abstract shot, I’d go out and try to create my own version of it. Obviously I don’t mean to literally copy someone else, if that is even possible, this is merely a tool for learning. Eventually after much repetition, and probably a lot of failure, you will find that you no longer need to look to other photographer’s work for inspiration and throughout the process you will have created your own style. If you come back from a shoot and weren’t able to achieve the results you wanted, do some googling and give it another try next time! You might even find if you ask a photographer a question, they may respond with tips and advice, just don’t be annoying or bothersome. But on that note, feel free to ask me a question in the comments below!
4. Shoot Raw
with just a very basic editing workflow, which I’ll show you in the next tip, you can get more out of your images with RAW files than with JPEG. JPEG is your cameras attempt to process the image itself, whereas with RAW files you process the finished product yourself. When I first started with digital photography I shot only JPEG and was a little apprehensive to switch to RAW, especially when it appeared the image that came out of the camera actually seemed lacking compared to the JPEG. Most cameras now offer the ability to shoot both RAW and JPEG at the same time and I’d recommend enabling this setting in your camera until you are confident in shooting RAW exclusively. What I did for awhile was use the JPEG as a reference and would edit the RAW files to look similar to the JPEG. Much more information is contained in a RAW file allowing you to make more precise adjustments to a wider range of shadows/highlights and colors.
Basic Editing
The only editing software I know how to use is photoshop, but this workflow should also work with Lightroom and maybe other editing software too. You don’t need to be a photoshop expert to get more out of your images. I took a photography class at Oakland Community College in 2010 and I am going to show you the very basic workflow that was taught to me in that class. And it only takes a couple minutes!
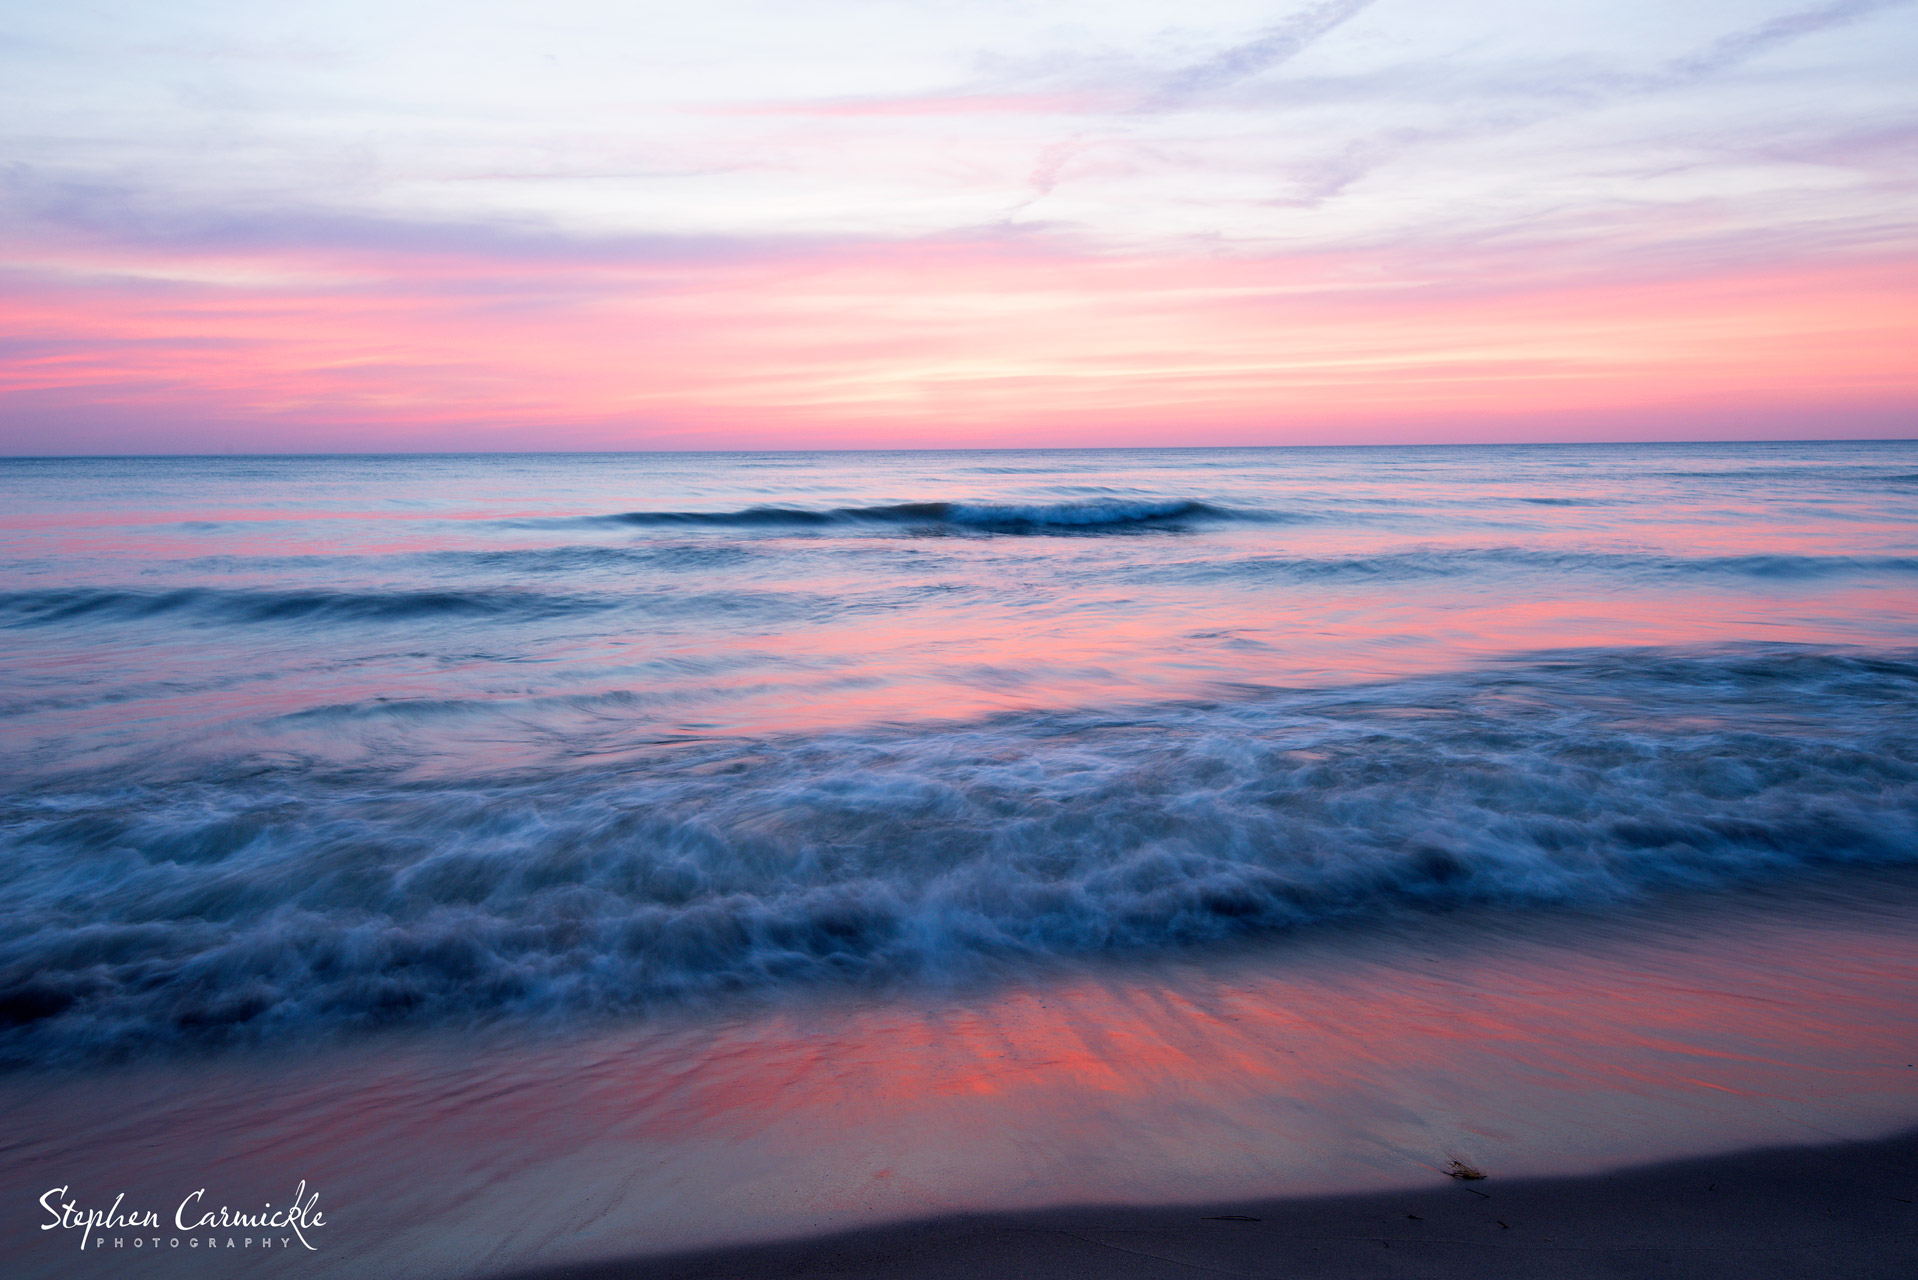
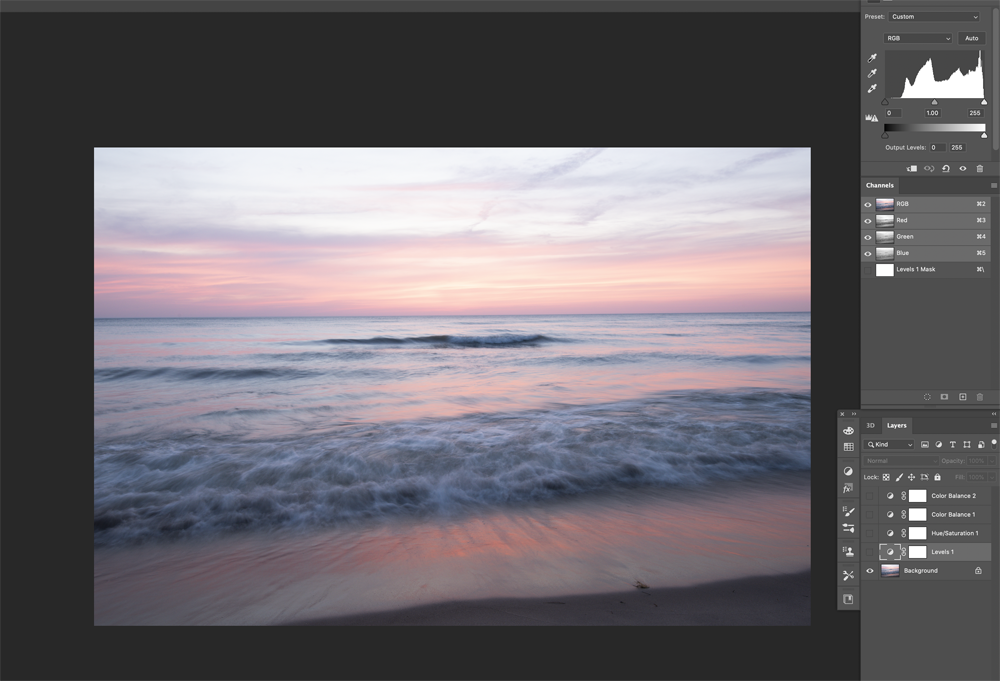
I will be editing this photo:

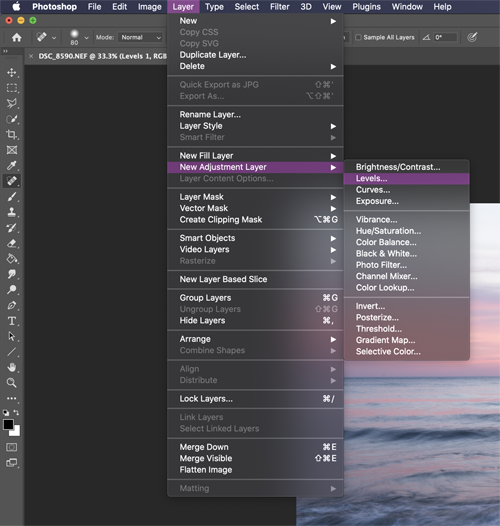
- Levels: When you first open your file in photoshop. Check the levels adjustment. It can be found under the “Layer” menu.
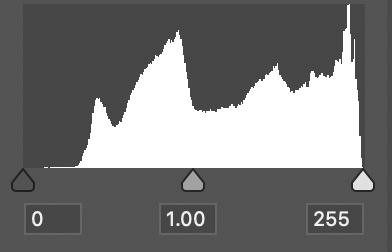
When adjusting levels, you refer to the histogram. The histogram shows you how heavy or light the shadows and highlights are in your photo. A bright photo will show the graph favors the right side of the histogram, like the one below of the image I am editing. Here is a more in-depth guide for reading and using a histogram.
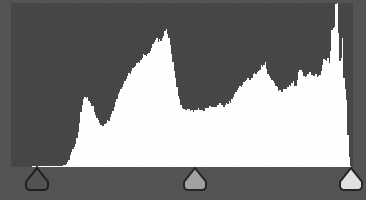
By sliding the dark slider to meet the white portion of the histogram closest to it, you can balance the light in your image, in this case making it darker. Shown below.
Here is the result it had on the photo:
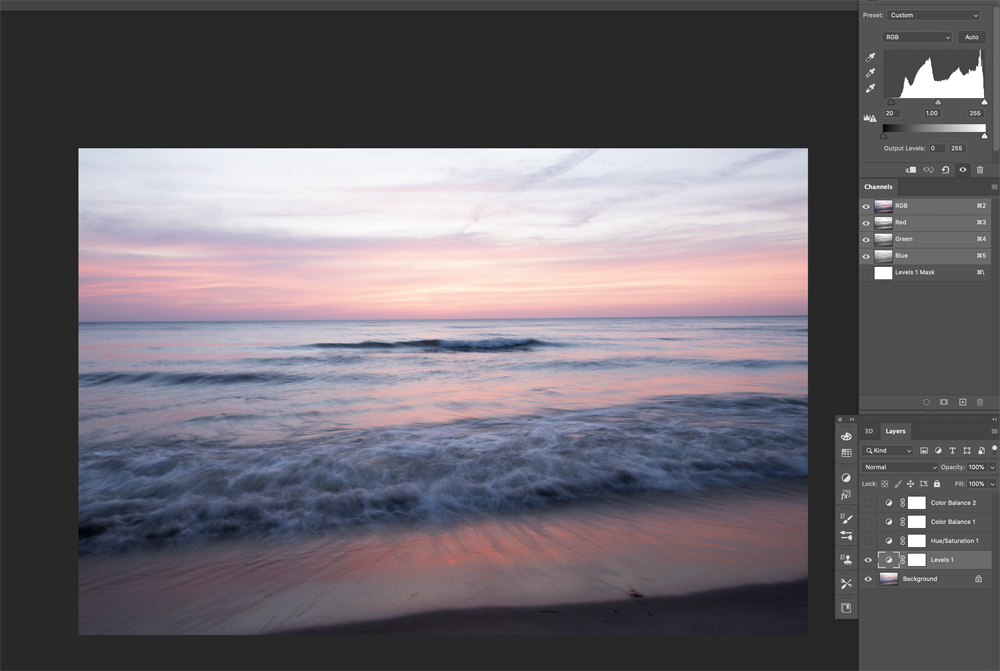
The effect on this particular photo is subtle, which is a good sign. But more drastic adjustments may be required and that is fine too. Just slide the black and white sliders inward to meet the histogram.
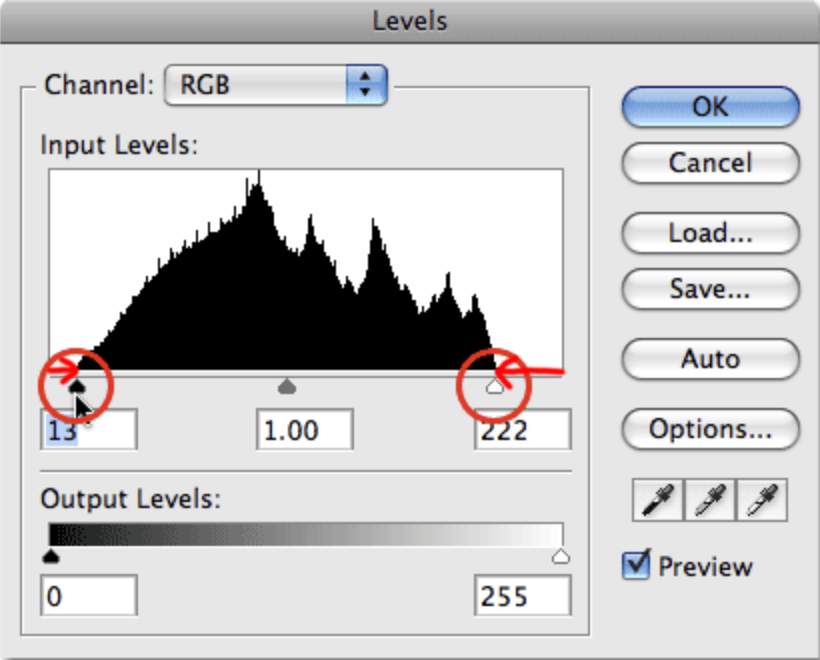
If your histogram goes off the edge on either side, your photo is either too overexposed or too underexposed. It is best to try and get this right in-camera but making this simple adjustment in photoshop can have a big impact on your image. An ideal histogram will have a small portion of the graph barely touching the bottom corners on each end.
2. Saturation: Under the same “Layer” menu select “Hue/Saturation” to create a saturation layer. This step is very easy, just adjust the saturation slider until you are satisfied. Like I mentioned above, if you are editing a RAW photo and also shot a JPEG alongside it, use the JPEG version as a reference for adjusting your colors, if your colors are more intense than the JPEG, it is likely you’ve overdone it with the saturation, but this can be case-by-case depending on the photo.
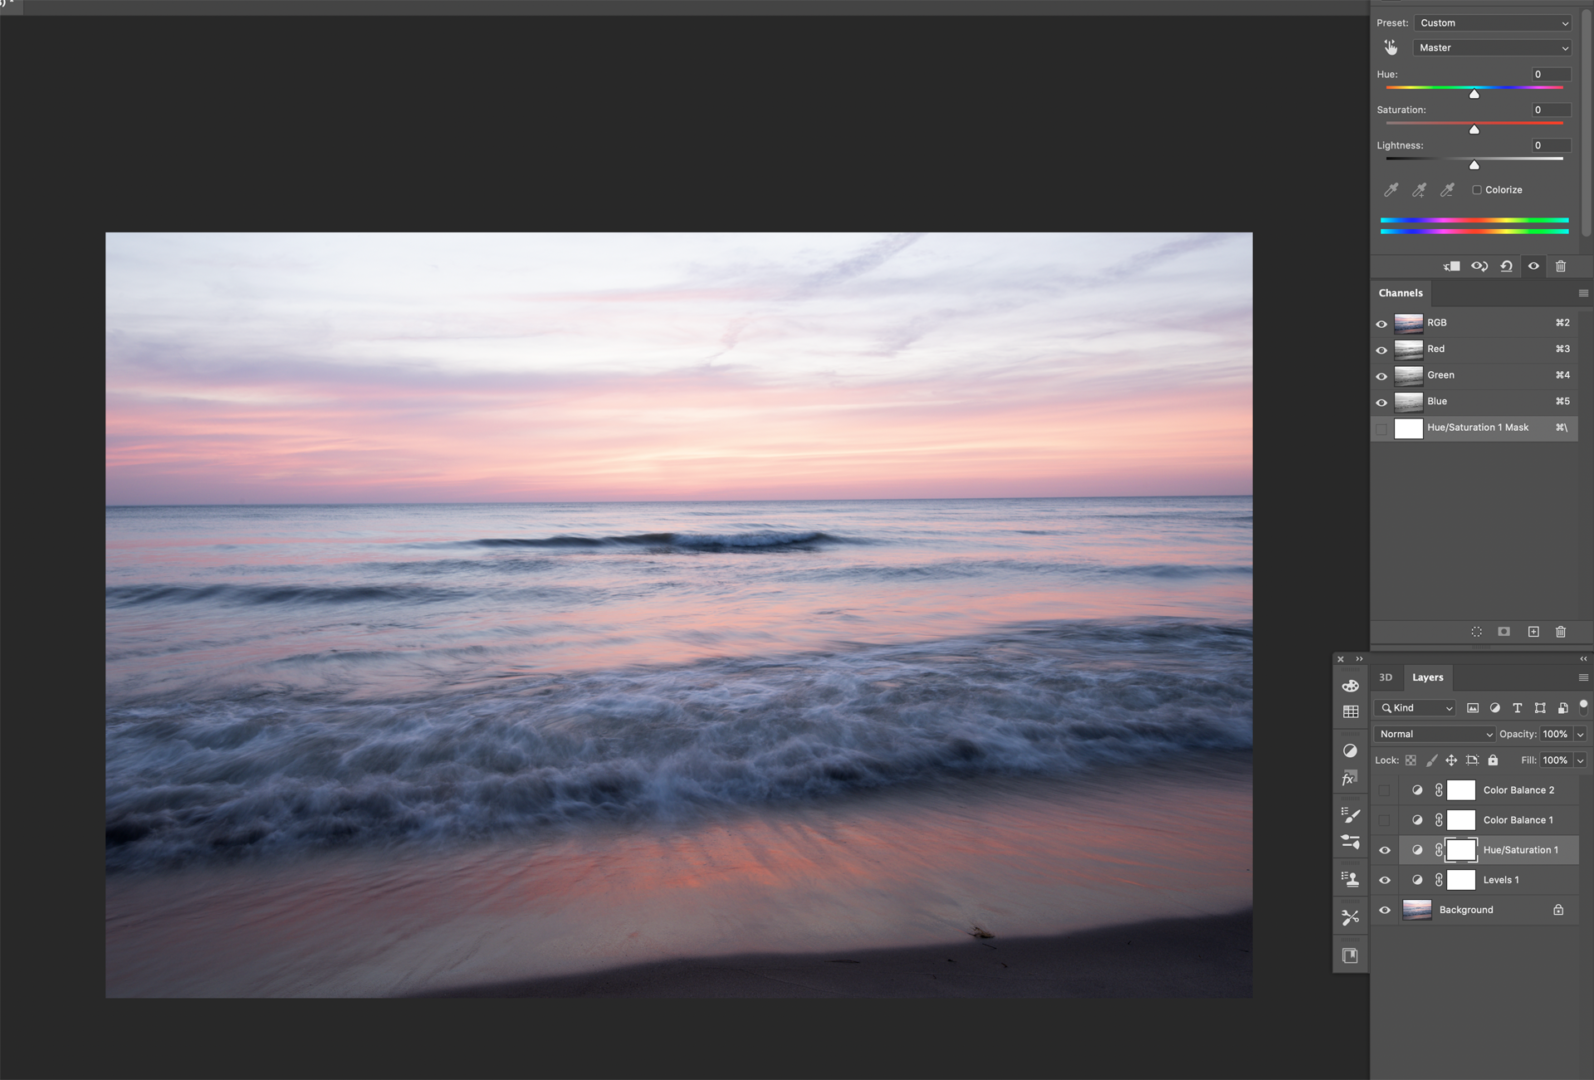
before:
After:
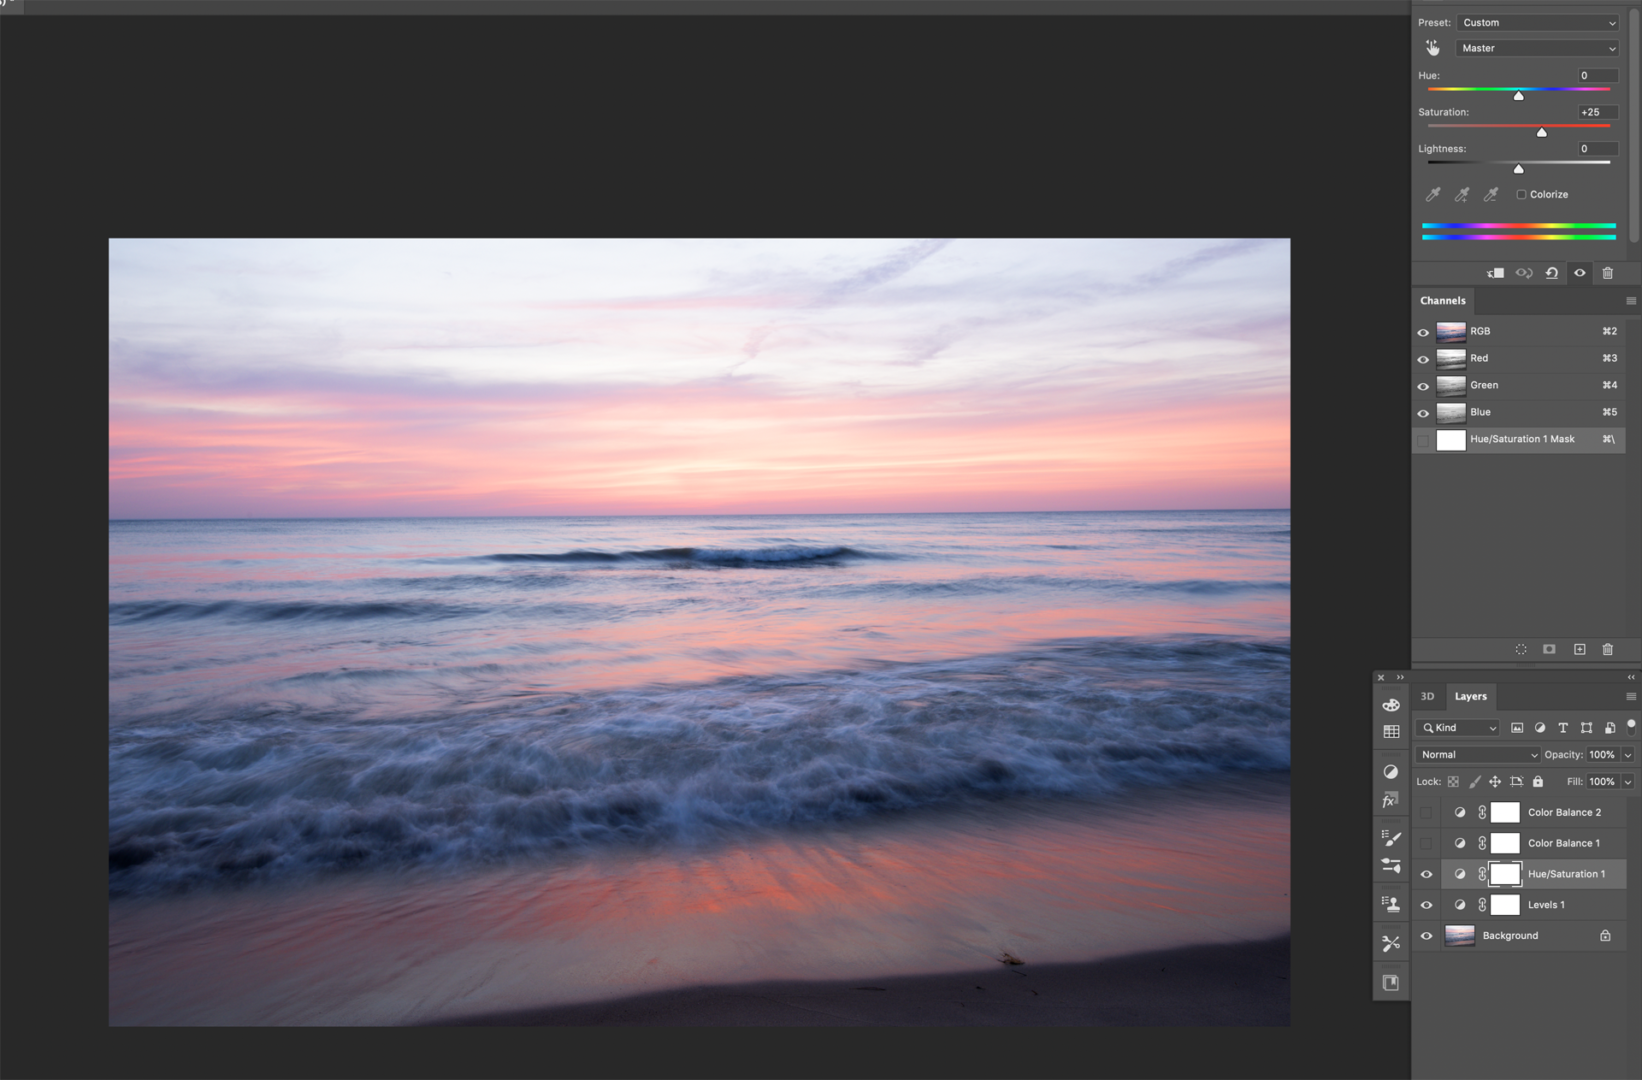
Once again, subtle changes, but we’re not trying to do anything too crazy right now, just simple editing techniques to get more out of your photos! All the small adjustments will add up in the end.
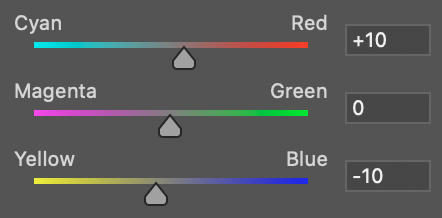
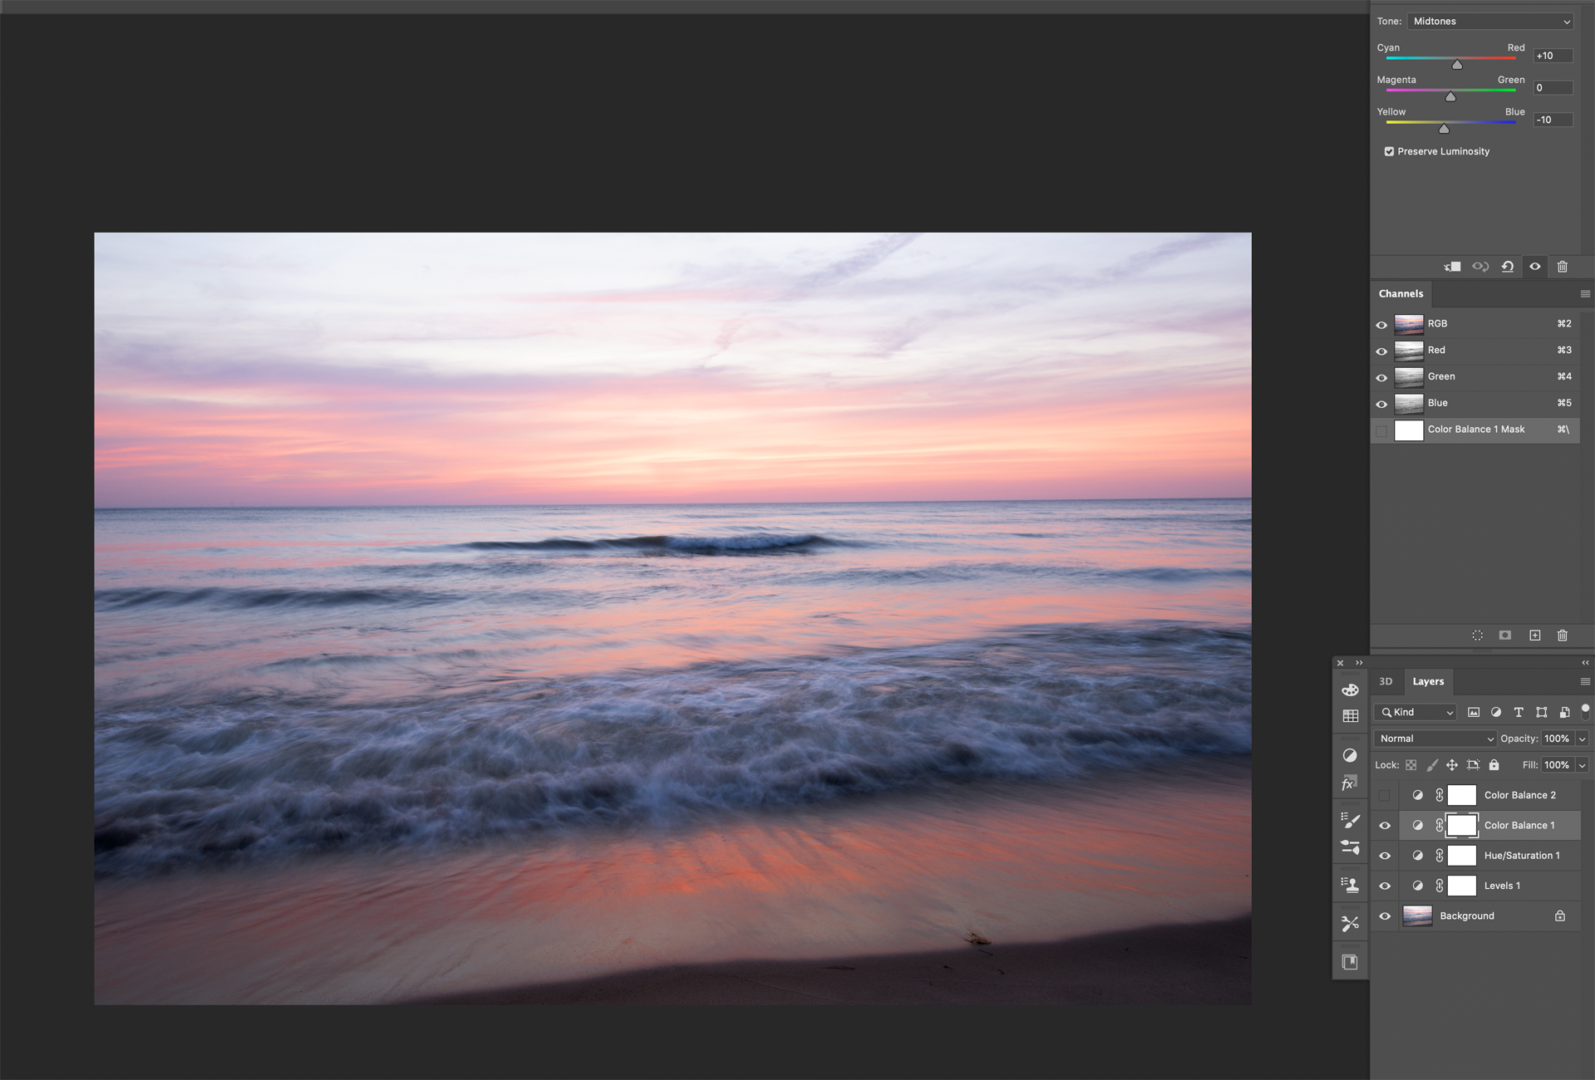
3. Color Balance: An optional adjustment if you want to change the mood of your photo a bit. You can make your photo warmer or cooler by balancing the colors toward the orange or blue end of the color spectrum.
Warmer:
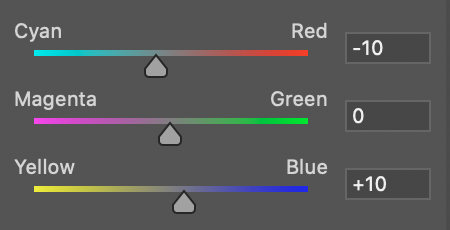
Cooler:
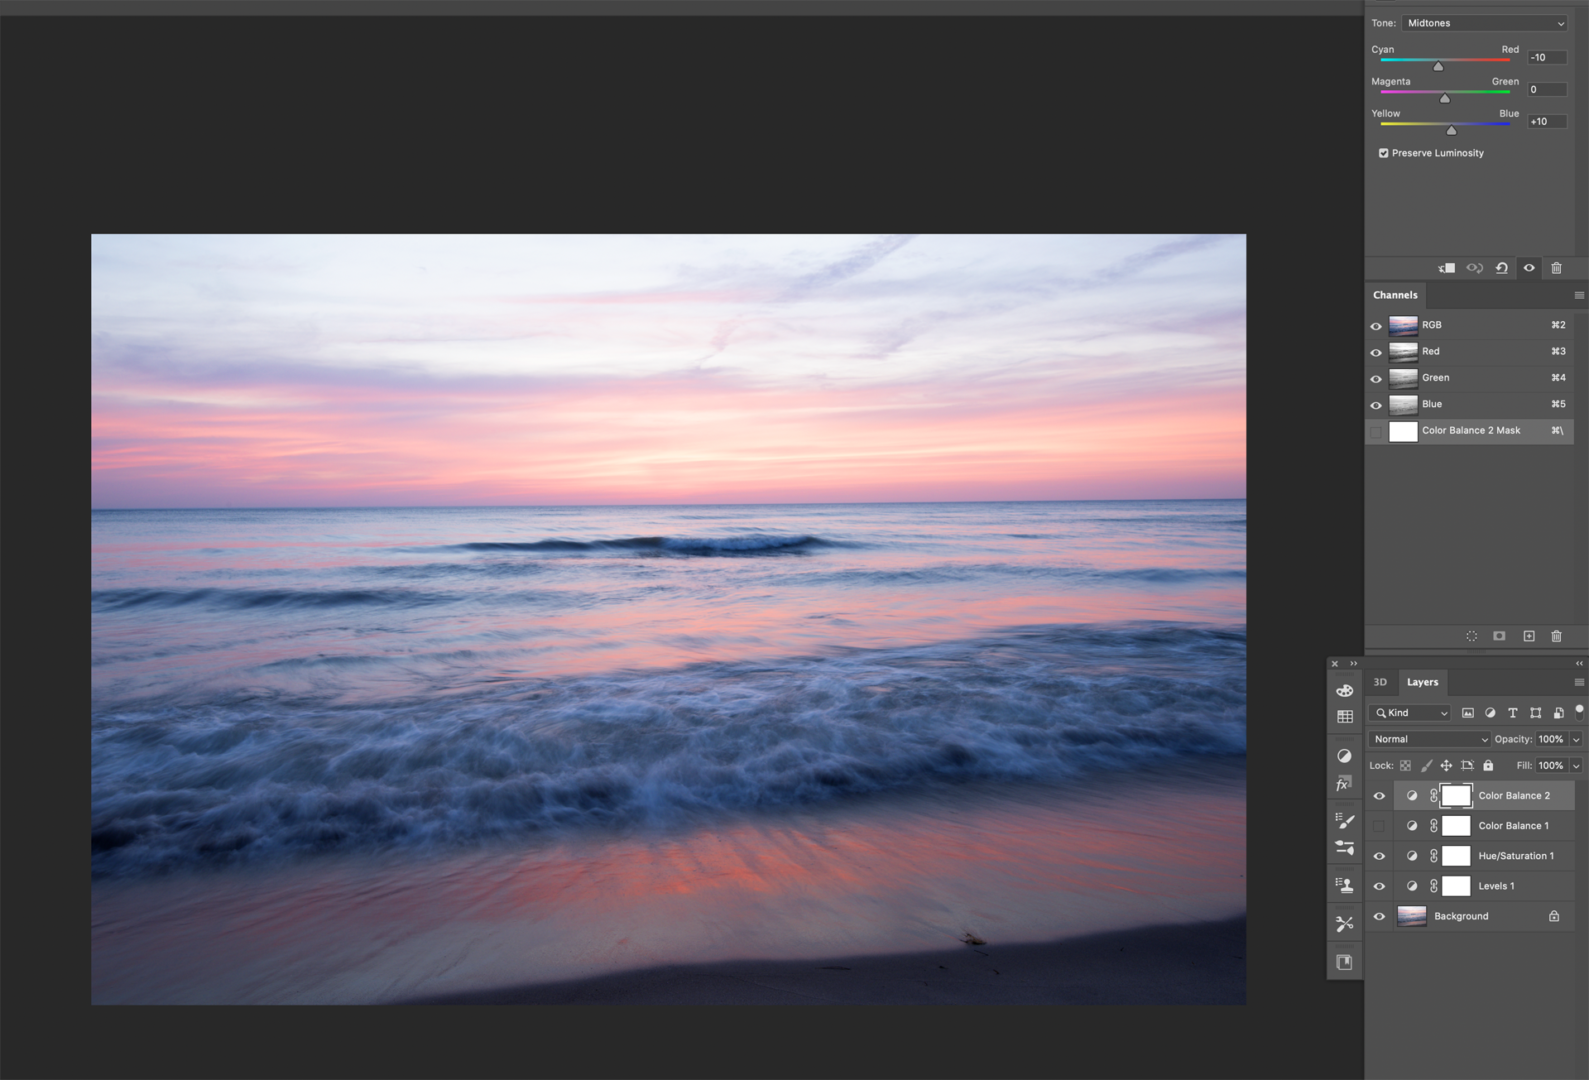
This photo is naturally warm so I think I’ll add some cool tones to this shot and bring out the blues a little more.
4. Unsharp Mask: Sharpening can be found under the “Filter” menu. Add a little sharpening to your photo as the final touch to bring out some of the finer details. This particular shot has a lot of motion blur so it won’t be affected by sharpening too much but I will still do it anyway. Just remember you can have too much of a good thing, so don’t sharpen too much or you will ruin your photo.

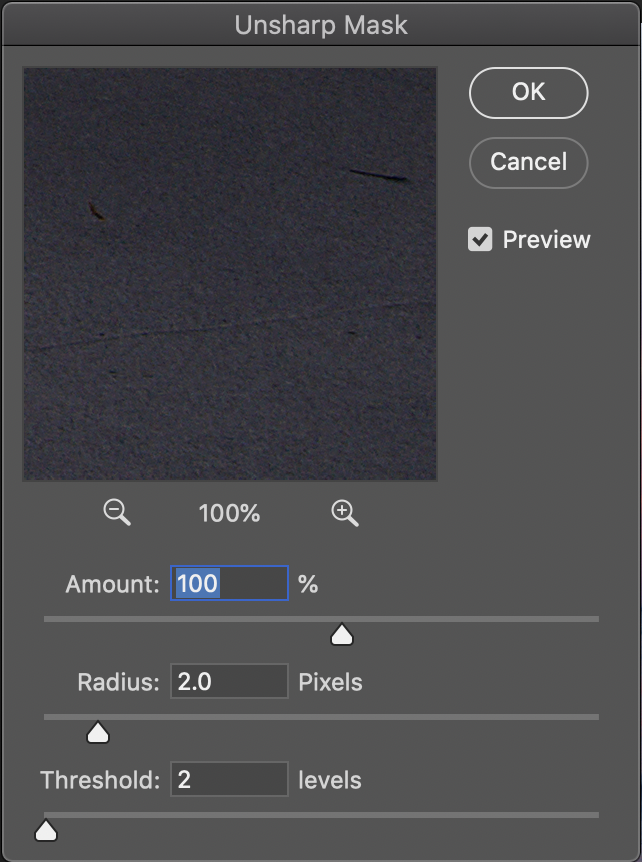
These are the settings I start with and adjust from there, either raising or lowering the radius depending on how much or how little the photo is affected.
Now you’re done!
before:

After:

hopefully this was helpful! I put it together last minute and stayed up quite late, I was unable to find a good photo for editing, I would have preferred a photo that was more affected by the levels adjustment. This is also not exactly how I would edit this photo, just a basic workflow for beginners. Part 2 next week!
Bonus Tip: Go through your old photos! You might find something you like. The shot I just edited was from 2018 and I remember at the time I did not like it and was disappointed, but looking at it now, I actually like it! I use more editing techniques now than I showed in this blog, so I will go back and edit this again using some Camera RAW adjustments and maybe other more advanced techniques. Perhaps I’ll make another blog about that.