In last week’s blog, Beginner Photography Tips – Part 1, I showed a couple simple ways to get more out of your photos using photoshop. In this week’s blog I will show how I would actually edit this photo. For me, the less editing I have to do the better. I don’t want to be spending hours at the computer editing. In fact, this photo is the perfect example of my ideal editing process.
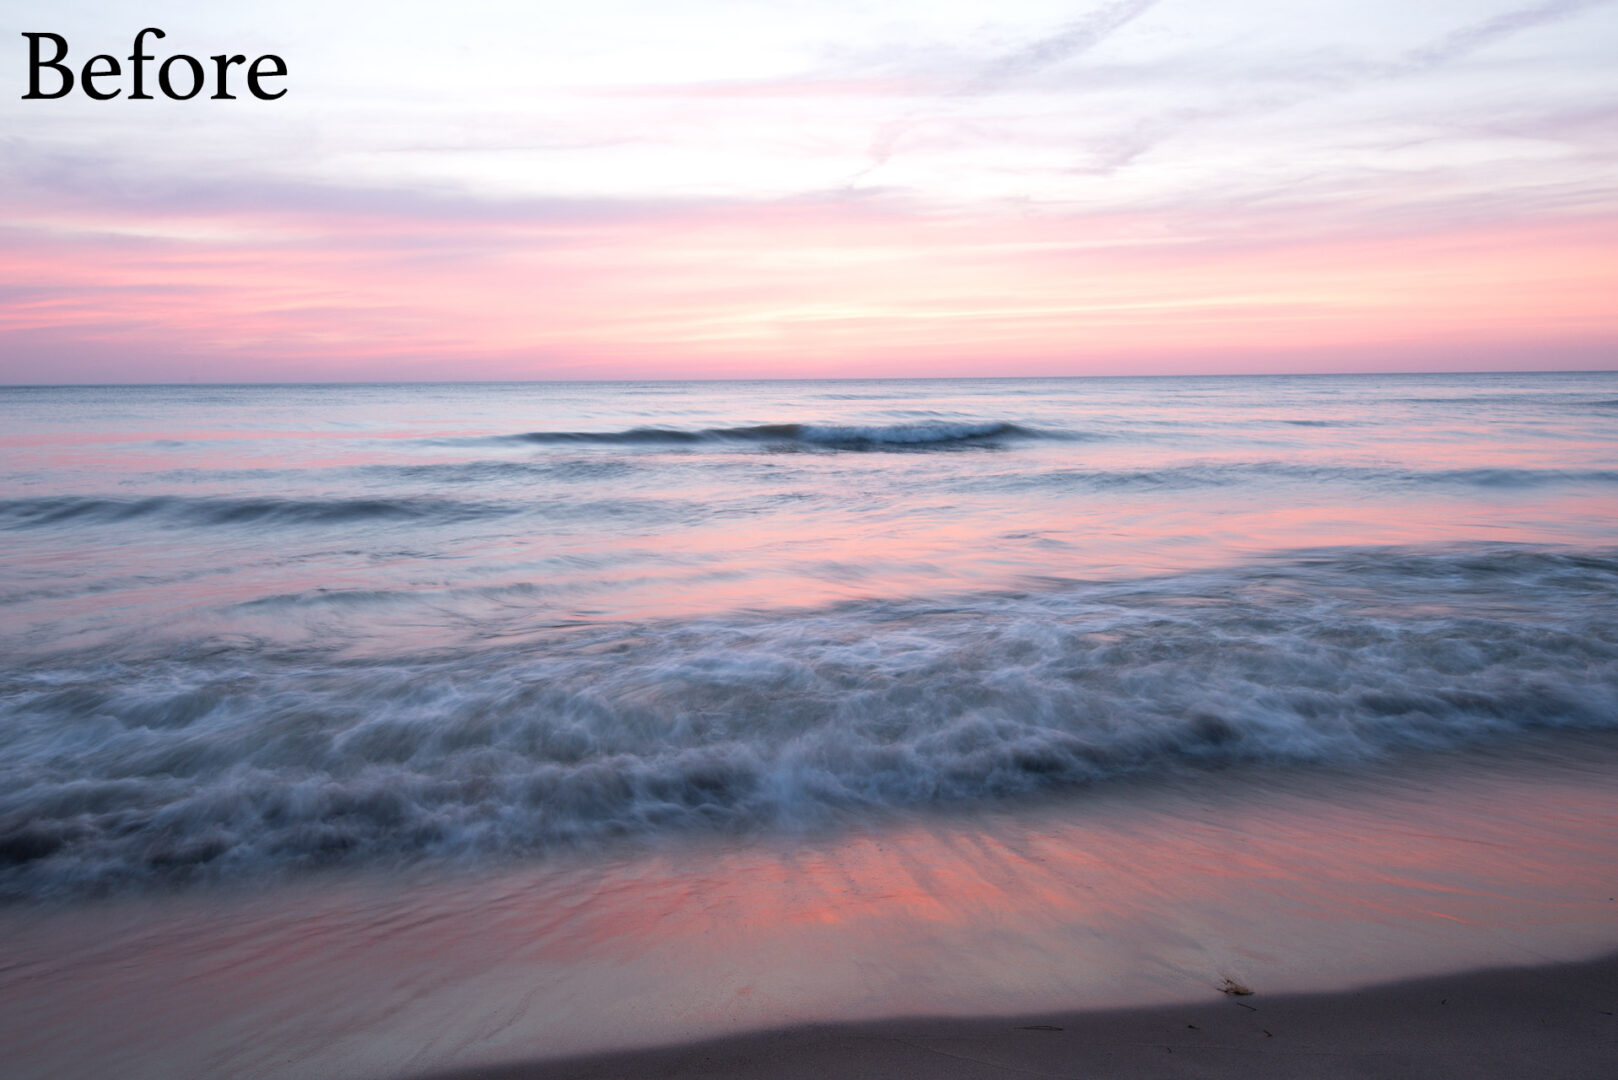
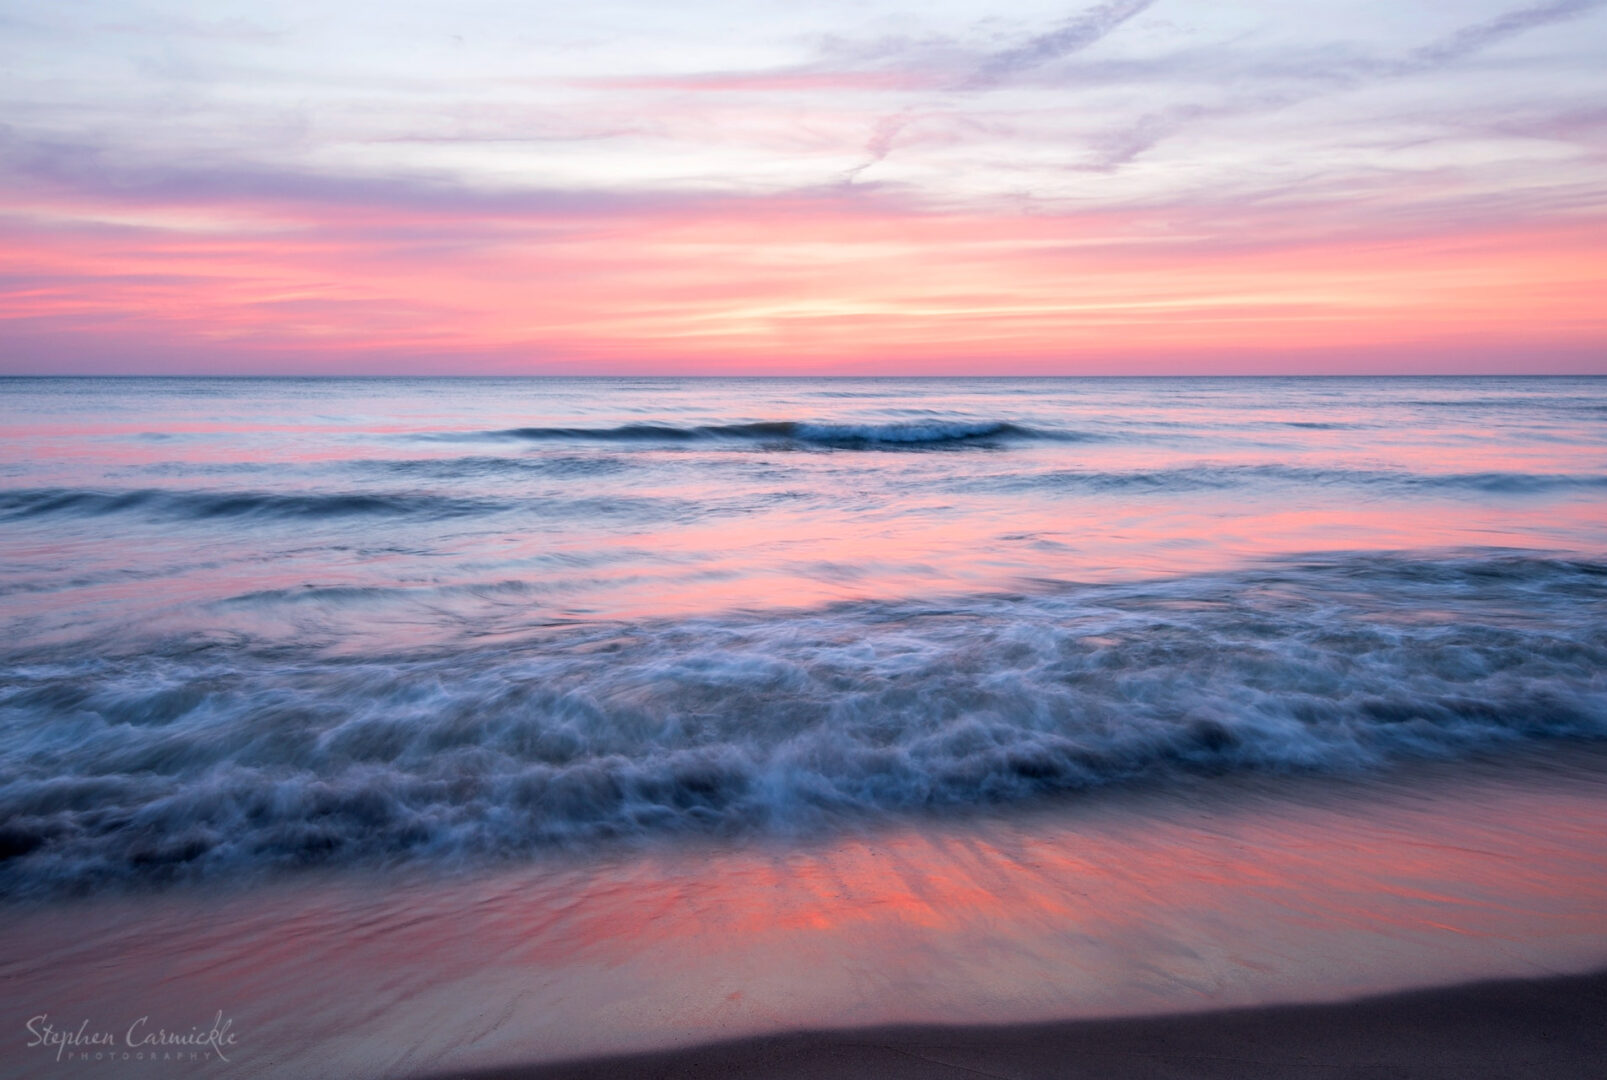
This is the photo that will be edited:
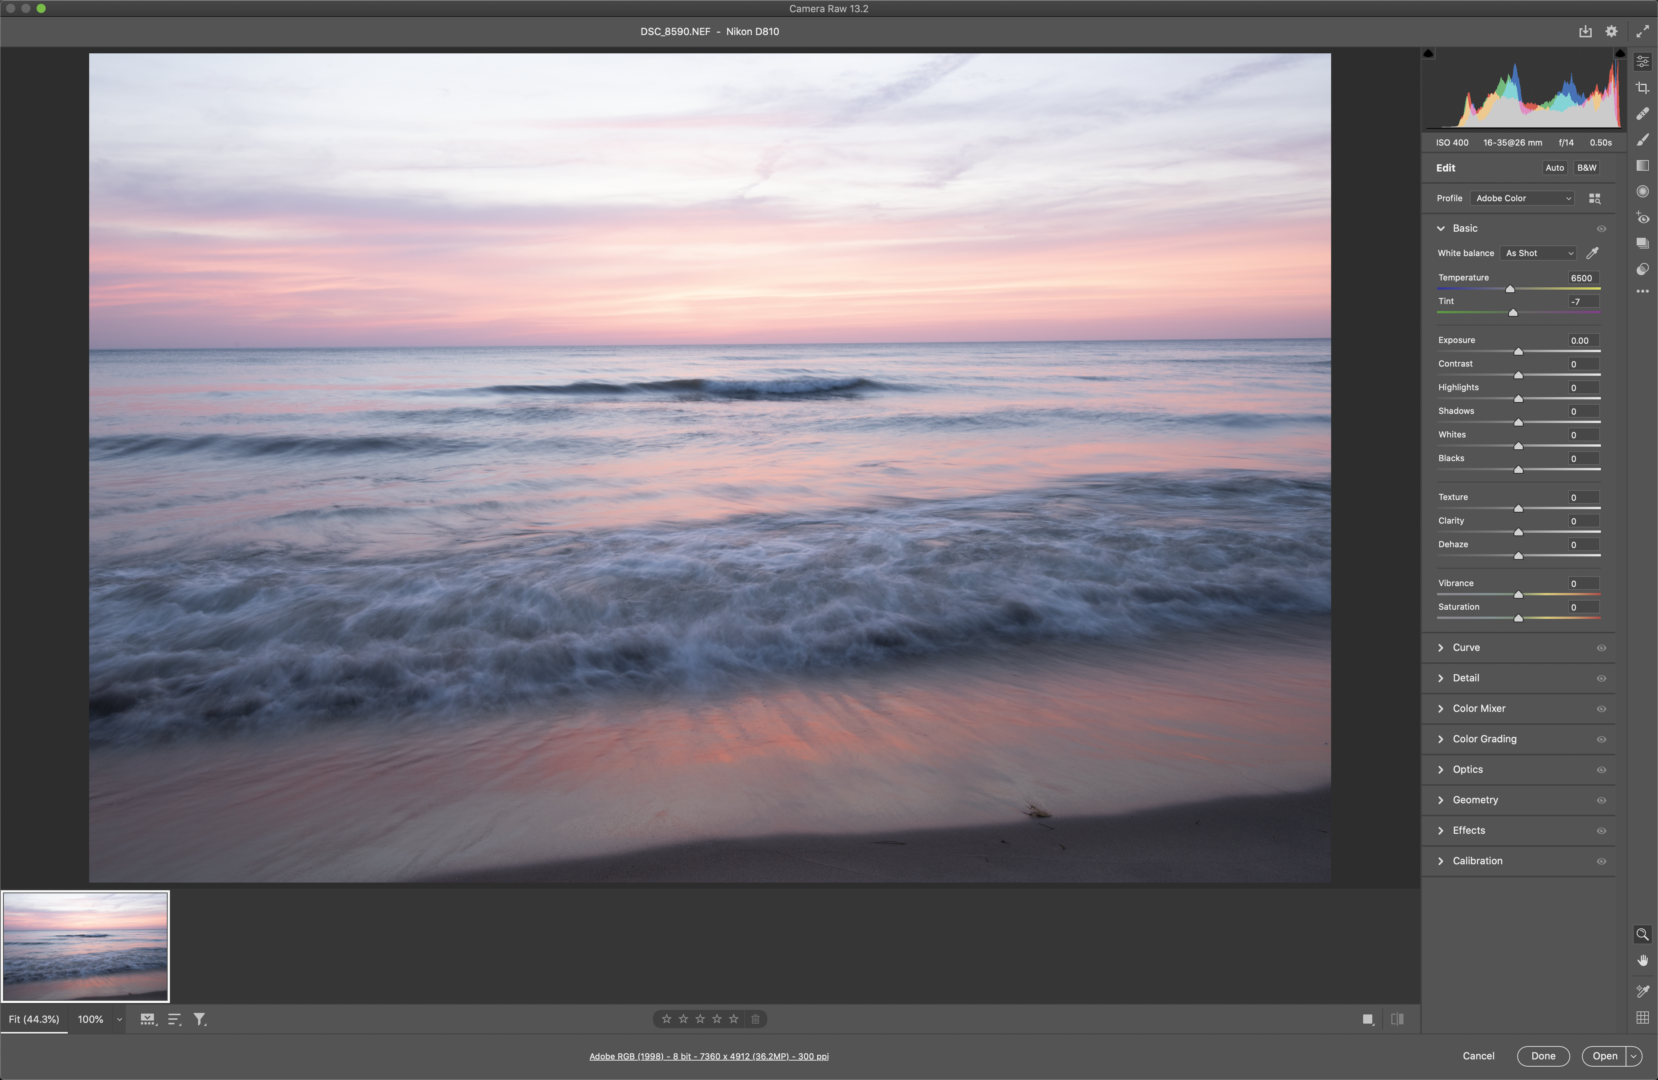
One thing that can be difficult about shooting landscape photos at sunrise/sunset is properly exposing the sky and foreground in a single image. Since the sky is usually much brighter than the foreground it can force you to have to choose between one or the other, sometimes this may require you to shoot multiple images and blend them together. Luckily that is not the case with this photo! Since I shoot RAW files, I have the ability to make some changes to the photo I couldn’t make by just shooting JPEG.
On the right side of the screen are all the Camera RAW adjustment sliders. For this next part I will only be dealing with the highlights and shadows sliders. In this photo the sky is a bit brighter than the water and sand, so by sliding the highlights down and the shadows up I can begin to achieve an affect closer to what we would see with our own eyes.
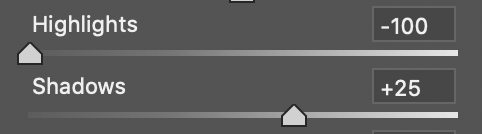

Look at the brightest parts of the sunset, in the lower photo the brights are toned down a bit to better match the rest of the image. Just making this adjustment alone could have a big impact on your photo. For this particular photo, that is the only RAW adjustment I see necessary, now into photoshop for the rest.
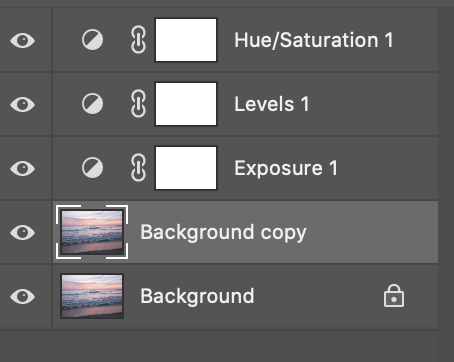
Once in photoshop I check the “Levels” adjustment layer and then Hue/Saturation adjustment layer right after that, just like I did in Part 1. Here are the adjustments I made:
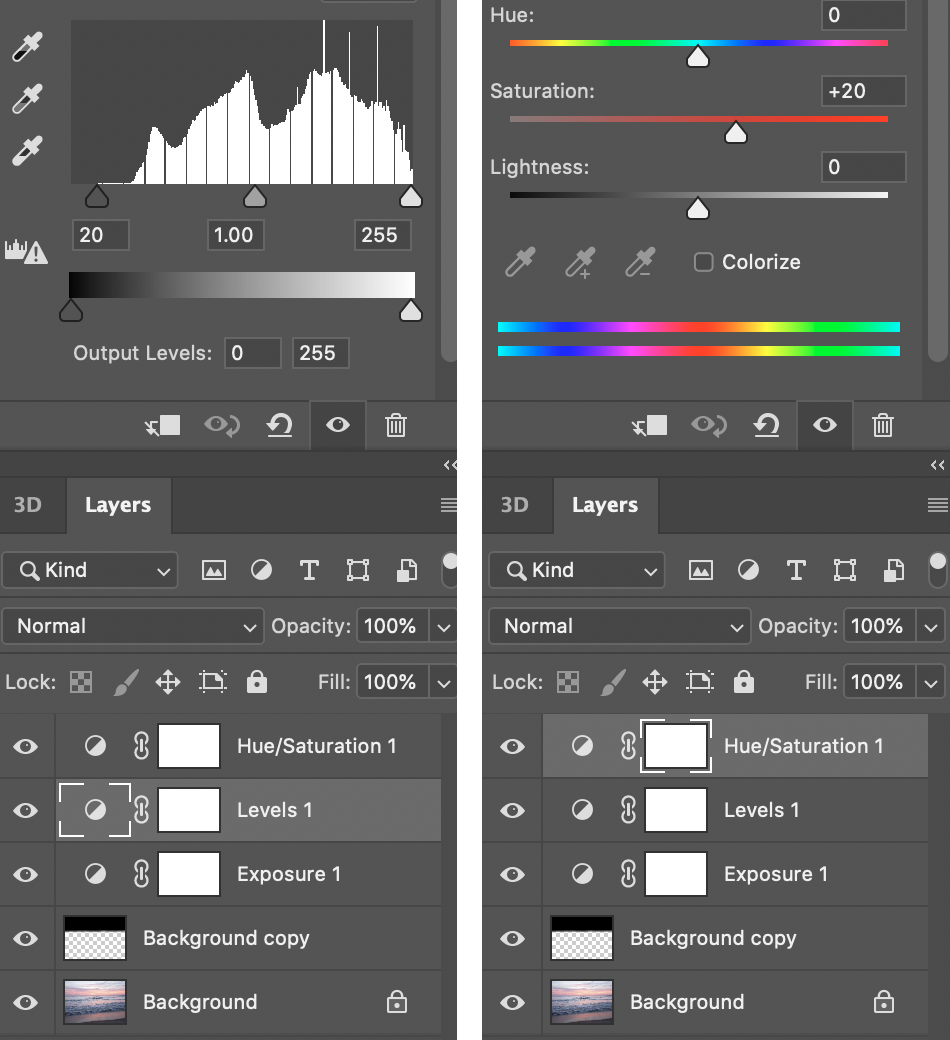
One thing I won’t be doing that I did last time was add the “Color Balance” adjustment layer, I don’t think this photo benefits from anything like that. But I did feel like the shot needed a slight boost in exposure after some of the lighting tweaks that were made earlier.

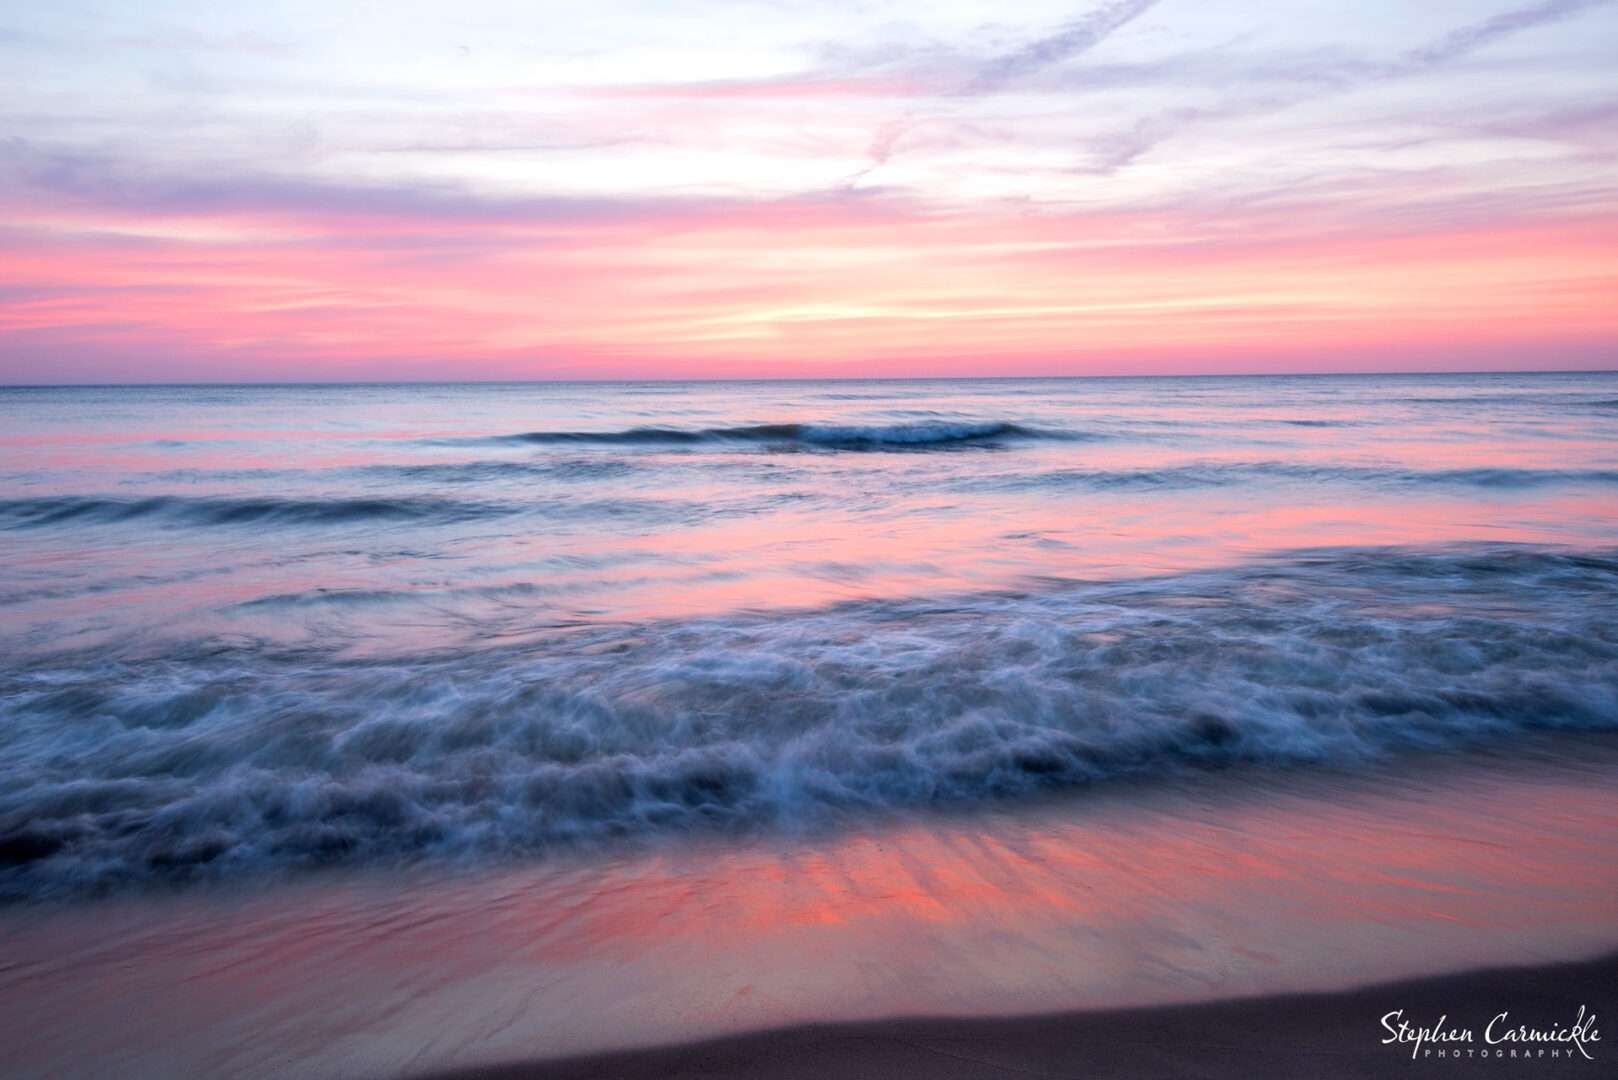
After all these adjustments I was left with this:
Almost done. The light levels in sky and water still don’t seem properly balanced so I am going to make a layer that reproduces the effects of using a GND Filter. By applying it in photoshop there is much more flexibility and control than using a physical filter system..
With the background layer selected, I will duplicate it. 🔽
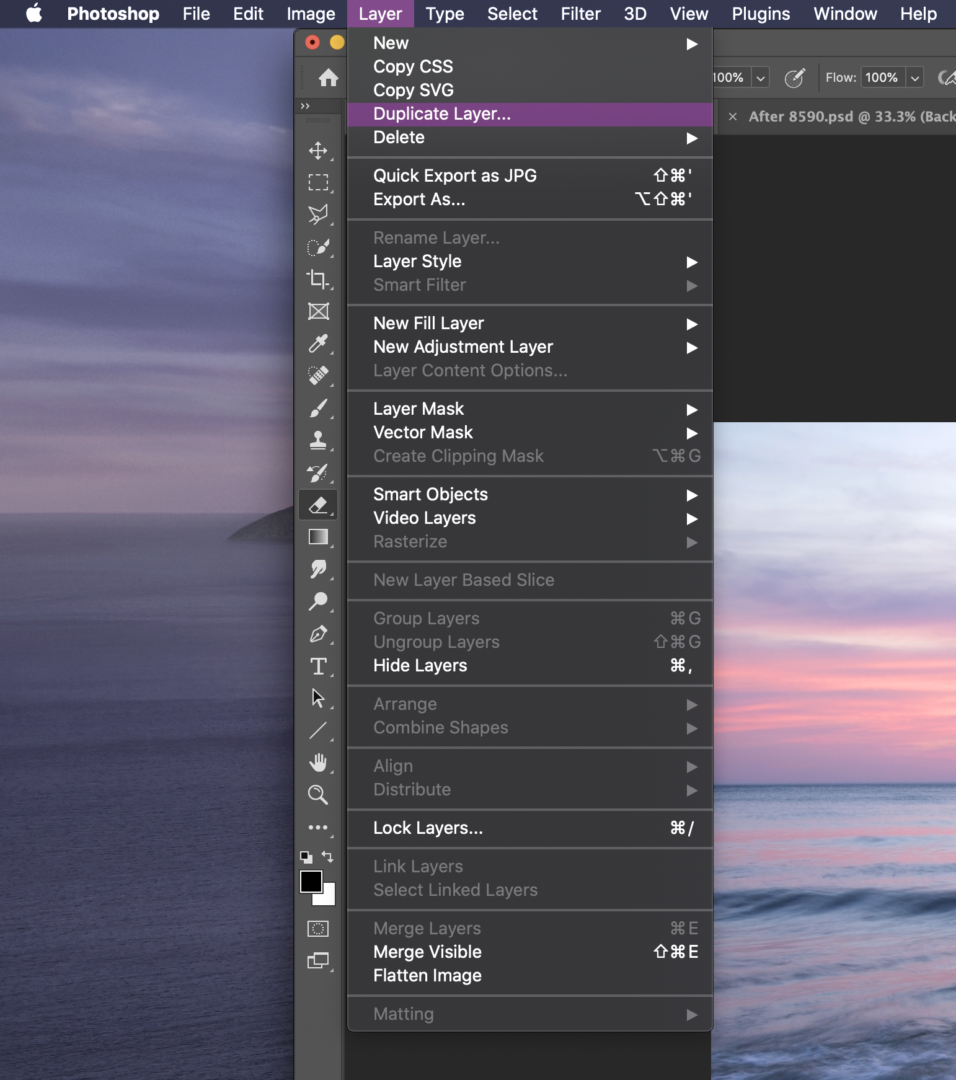
Which will create a “Background copy” layer.
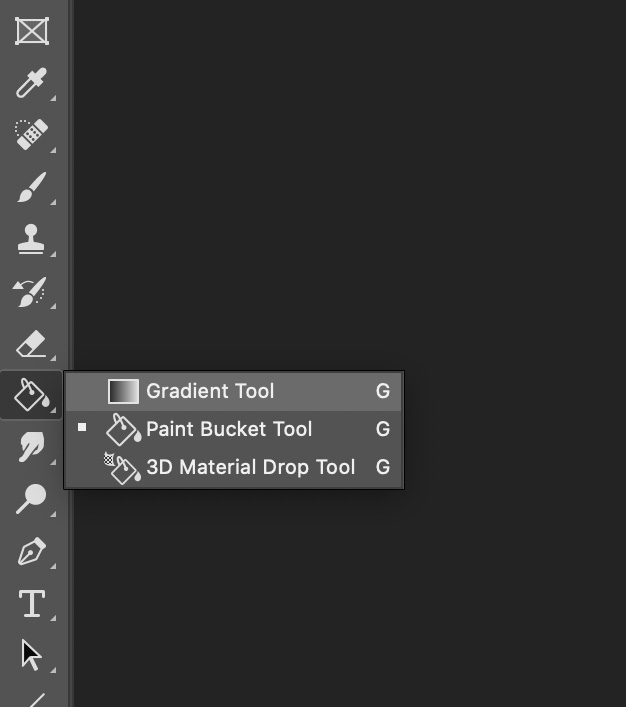
With the “Background copy” selected, find the paint bucket tool on your menu and select the gradient option.
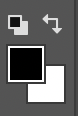
Make sure the colors are set to black on top and white on bottom. 🔽
I am going to drag the gradient tool downward to form a small vertical line with the horizon line in it’s center 🔽. This photo is ideal for this technique because the horizon is flush against the water without any dark foreground objects sticking up into the bright sky. Drawing a longer line with the gradient tool will create a softer transition of the gradient and may be more helpful if you have an obstructed horizon line. If you do have tall foreground objects in your photo, this might not be the best option for you. Perhaps in a future blog I can show how I deal with that by blending multiple exposures.
This is how your photo should look after doing this. 🔽
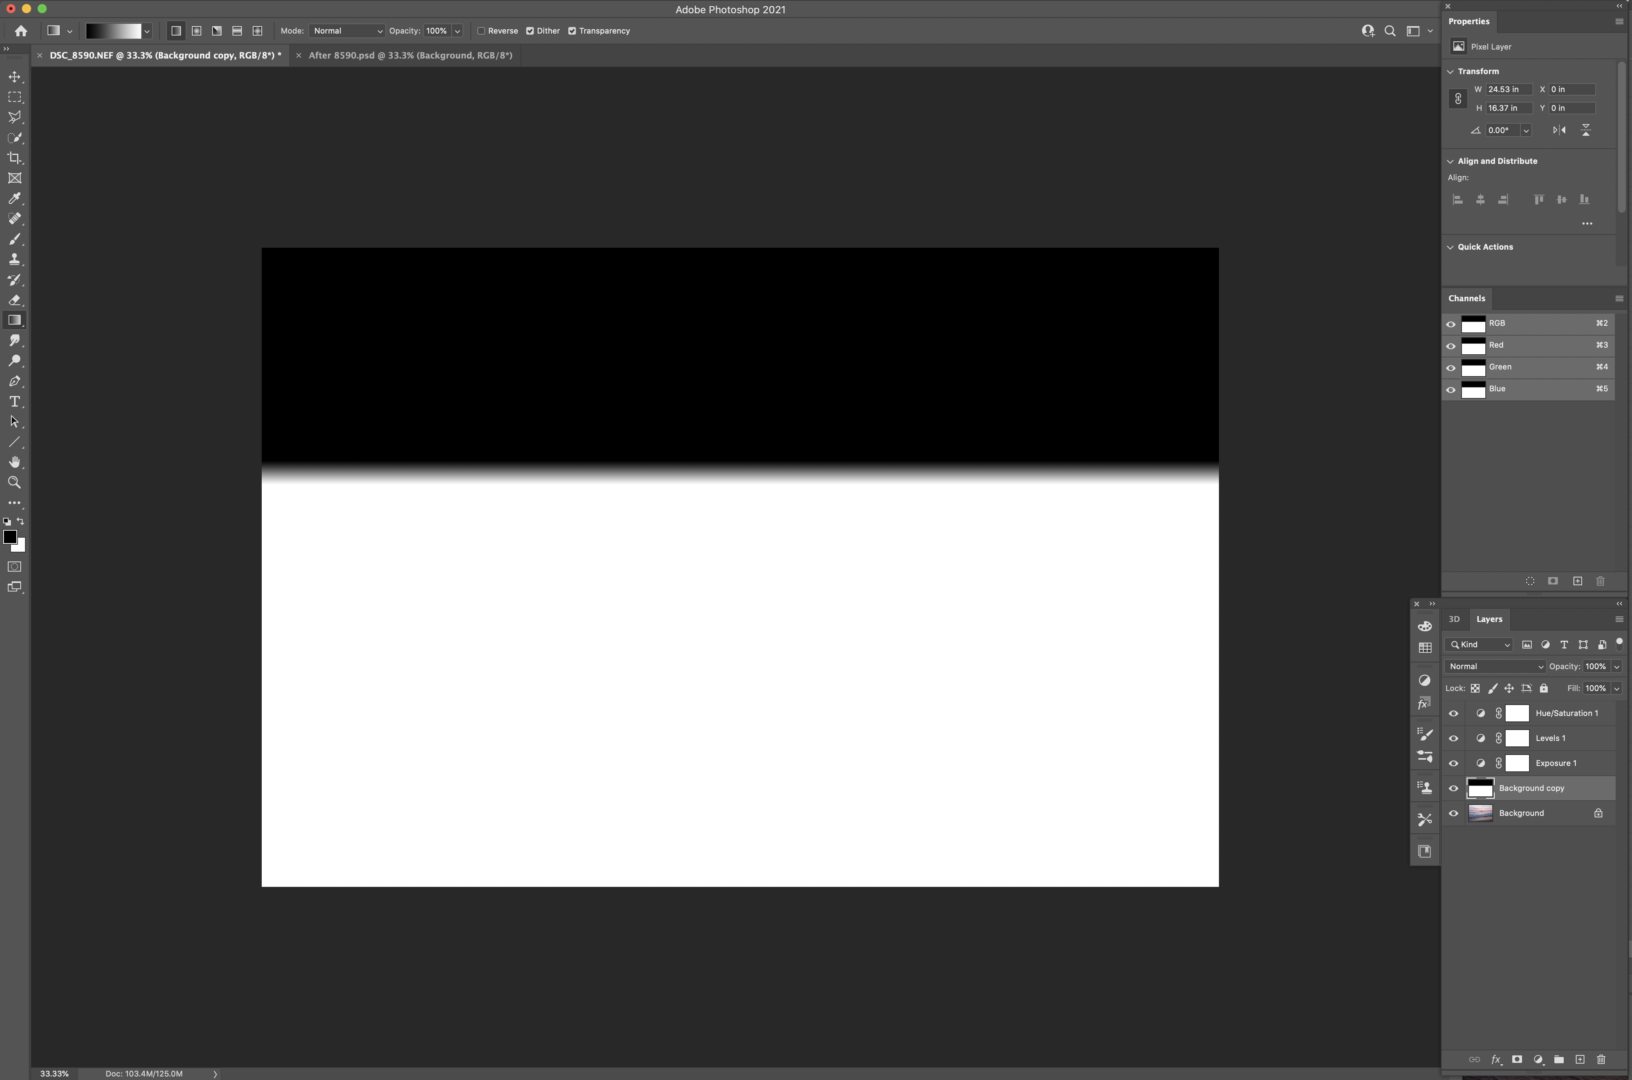
The black portion on top will help to darken the sky so it matches better with the lower half of the photo. The great thing about this is we have full control over how much we want this to affect the image. With the “Background copy” still selected I will then lower the opacity of that layer.

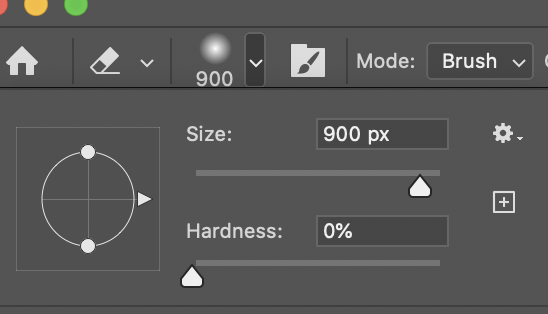
The white portion still has an impact on the shot, so just use the eraser tool to remove the white from the layer. Make sure to use a very soft brush by lowering the “hardness”.
After erasing the lower white portion, here is the result.
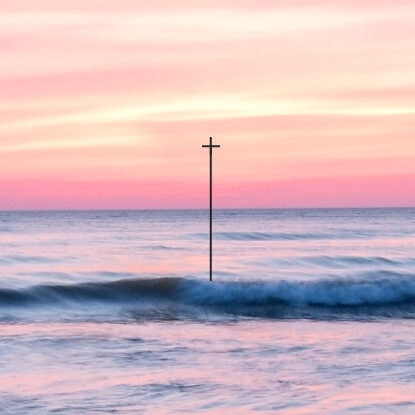
So I started with this:
And ended with this:
The only other edits I made were using the heal brush to remove a couple dust spots and some parts of the sand. And as I was writing this I realized my skyline was a little lopsided so I rotated the image clockwise slightly to level the horizon.